Growing up making pudding meant opening a box of Jell-O brand instant pudding and whisking in some milk. In fact, instant pudding was one of the first things I learned to "cook" on my own as a kid. We even had a special contraption -- a lidded plastic cup -- called a Jell-O Shake-a-Pudding that I used until it took one too many trips through the dishwasher and warped.
Cooked pudding, to my immature taste buds, was too heavy and "burnt" tasting. As an adult, I've grown to appreciate the sophisticated flavor of a cooked dark chocolate pudding. And these days I try to avoid the unpronounceable ingredients often found in mixes and packaged convenience foods.
I'm still not a fan of the scalded taste of some cooked puddings, but I recently learned a way to prevent this: use dairy-free milk.
This from-scratch pudding uses nondairy milk in place of the traditional dairy milk, making it acceptable for vegans and those with lactose intolerance.
I used Milkadamia brand macadamia nut milk -- of all the nondairy milks I've tried, it has the most pleasant flavor and texture -- but any diary-free milk such as almond milk, coconut milk or soy milk would work.
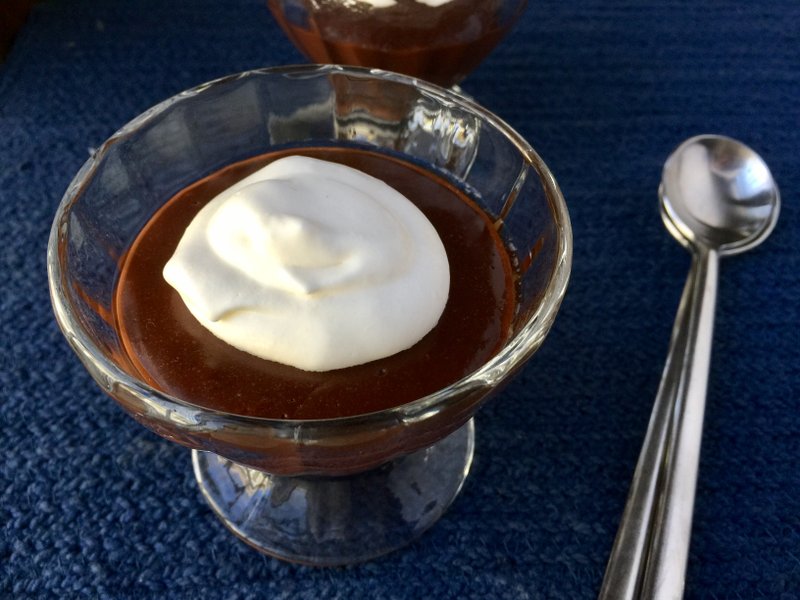
Nut-Milk Chocolate Pudding
6 tablespoons unsweetened cocoa powder (I used a blend of natural and Dutch-process cocoas)
3/4 cup granulated sugar
1/4 cup cornstarch
Pinch salt
Pinch espresso powder, optional
3 cups unsweetened diary-free milk such as Milkadamia macadamia nut milk
2 teaspoons vanilla extract
1 tablespoon solid coconut oil
Whipped topping/cream, optional for serving (see note)
Sift cocoa, granulated sugar, cornstarch, salt and espresso powder into a medium saucepan.
Whisking constantly, pour in the nut milk and vanilla extract and bring to a boil over medium-high heat. Immediately reduce heat to low and cook, whisking frequently, for 5 minutes or until mixture thickens. Remove from heat and stir in coconut oil.
Pour pudding into ramekins. Cover with plastic wrap and refrigerate at least 1 hour or until chilled and set.
Serve with a dollop of whipped topping such as So Delicious CocoWhip.
Makes about 6 servings.
Note: To make your own dairy-free whipped "cream," refrigerate a can of full-fat coconut milk for several hours -- long enough for the fat to separate and rise to the top of the liquid. Then scrape off the solid fat and whip it with a teaspoon or so of sugar as you would heavy cream.
Food on 01/31/2018