Just a few generations ago, when rural living usually included owning dairy cows, making cheese at home was a common practice and a good way to use up that extra gallon or two of milk. After the 1920s, as more people moved to the city, home cheese making lost popularity. Today, renewed interest in artisan foods combined with changes in Arkansas law that legalized buying raw milk have created a new generation of home cheese makers.

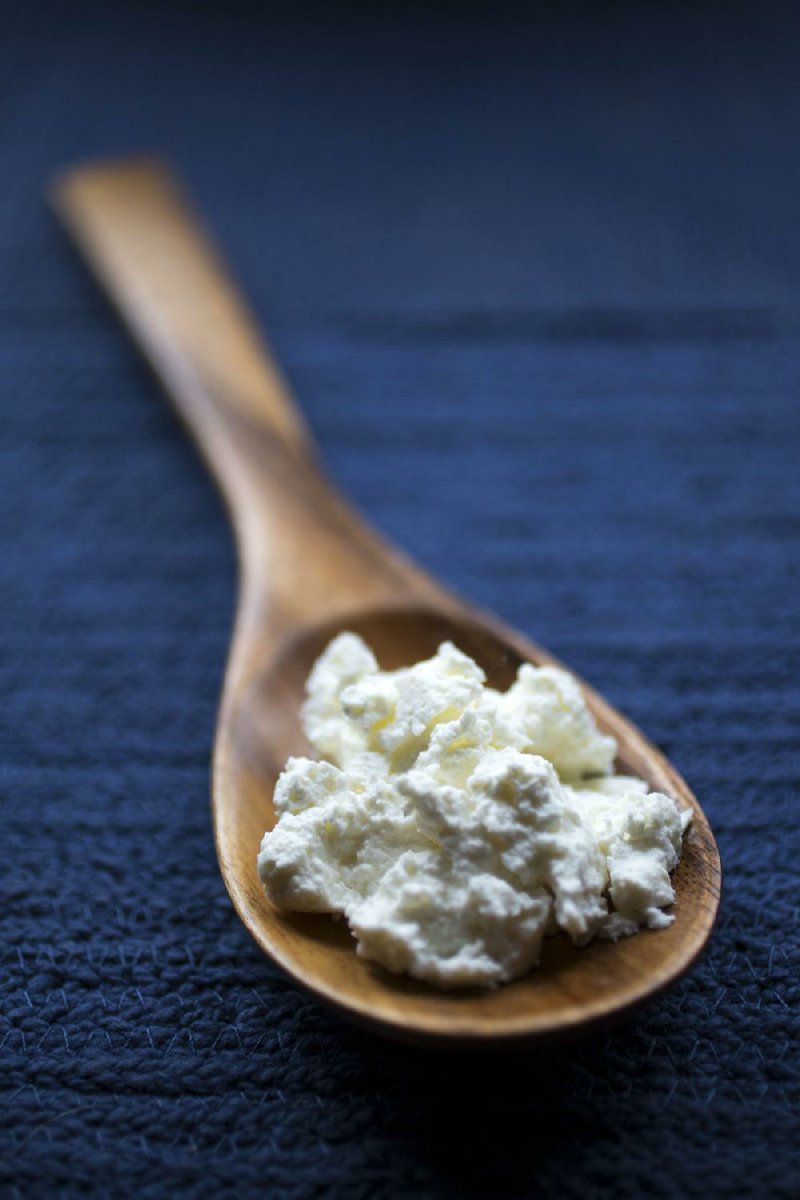
Kent Walker, owner of Kent Walker Artisan Cheese in Little Rock, began making cheese as a hobby. He says fresh, unaged varieties such as ricotta and mozzarella are the simplest to make. From there you get into the more complex varieties.
"There's the hard cheese like the cheddars, soft ripened cheeses that get a mold on the outside that kind of melts the cheese on the inside, and then the blue cheeses -- that's kind of the progression of cheese making," Walker says.
THE INGREDIENTS
Although cheese making doesn't require many ingredients, there are some factors to consider for the best results:
Milk -- Using fresh, whole milk yields the best, most flavorful cheese. Store-bought milk can be used for cheese as long as it isn't ultrapasteurized (milk that has been heated at very high temperatures for longer storage), which affects the milk's ability to form curds. Milk that has been ultrapasteurized is sometimes labeled UHT.
Cultures -- The simplest cheese recipes use acids such as vinegar or lemon juice to form the curds and develop flavors. Other recipes may require other acids, molds or bacteria, which are available at natural foods stores and cheese-making supply companies.
Rennet -- This complex of enzymes causes the milk solids to separate from the whey (the watery liquids). Rennet made from the stomach linings of infant grazing animals is still used for some cheese making, but vegetable-based rennet is widely available.
Salt -- Salt not only enhances the flavor of the cheese but also helps draw out excess moisture. Always use noniodized salt to avoid harming the starter bacteria.
Water -- Choose filtered water instead of tap water to avoid chemicals and compounds that can affect the milk.
THE EQUIPMENT
To make fresh cheeses, you will need the usual measuring cups and spoons, a slotted spoon to remove the curds and a colander to drain the cheese. Additionally, you'll need a few items with special considerations:
Stainless-steel or enamel-coated pots -- Cast iron or aluminum pots can react to the acids in the dairy products.
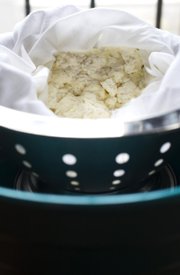
Cheesecloth or muslin -- The cheesecloth sold in many kitchen stores has a loose weave that isn't suitable for making fresh cheese unless you double- or triple-layer it. Look for cheesecloth with a tight weave or use butter muslin (a reusable, tightly woven cloth).
Thermometers -- Choose a thermometer that also measures low-range temperatures. Many candy or frying thermometers do not register temperatures below 100 degrees.
Molds -- Cheese molds come in a variety of sizes and shapes. Use molds that are plastic or stainless steel.
THE PROCESS
Cheese making is simply the process of heating milk with ingredients that cause the proteins and milk solids to form curds and separate from the whey. Drain longer, and you have a drier cheese. Add pressure to remove more liquids, and you have a harder cheese. Age longer, and you have attained a sharper or more developed flavor.
Ricki Carroll, author of Home Cheese Making, outlines the steps for making fresh cheeses:
Step 1: Heat the milk.
Step 2: Mix in any additives.
Step 3: Add the starter/rennet.
Step 4: Let it set until the curds form.
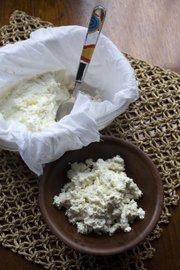
Step 5: Salt and drain the curds.
The milk can be heated in a pot directly on the stove, in a double boiler, or by using a hot water bath. When working with large quantities of milk, Mike Byrum, owner of Fermentables in North Little Rock, recommends putting a smaller pot into a larger pot filled with water to create a large-capacity double boiler.
Walker shares these tips for successful cheese making:
"Sanitation is ridiculously important. Cheese making is almost all cleaning." Any substance left on equipment and utensils can affect the milk's ability to coagulate.
Byrum adds, "Heat sanitization is recommended. ... You can also use chemical sanitizers like iodine or phosphoric acid."
"When it says, 'stir continuously for 30 minutes,' then stir for 30 minutes. ... It's important that your curds don't settle down to the bottom." Walker also explains that simply stirring in a circle isn't effective. "You need to get vertical and mix from the bottom up."
"Don't just buy stuff that has 'cheese making' on the label," he says.
As long as the equipment is food safe, it's OK to get creative in finding substitutes. Walker buys muslin at the fabric store and recommends that beginning cheese makers use existing food-safe plastic containers (e.g. butter tubs, yogurt containers or whipped topping containers) as molds by punching holes in the bottom to let the whey drain from the curds.
Build your cheese-making confidence with these easy recipes and then check out some of the resources listed in the accompanying story to learn more.
Lemon Cheese
½ gallon whole milk (not ultrapasteurized)
2 to 3 lemons, divided use
Cheese salt, optional
Herbs, optional
In a large stainless-steel or enameled pot, heat milk, stirring continuously, to 185 to 200 degrees. Add juice from two of the lemons and stir well. Cover, maintain heat, and let the milk set for 15 minutes until there is a clear separation of the curds and whey. If the milk has not set after 15 minutes, add more lemon juice until it does set. Pour the curds into a colander lined with butter muslin. Tie the corners of the muslin into a knot and hang the bag to drain for 1 to 2 hours, or until the curds have stopped draining. Remove the cheese from the bag. Add salt and herbs to taste, if desired. Store in a covered container in the refrigerator for 1 to 2 weeks.
Makes about 1 pound.
Recipe adapted from Home Cheese Making by Ricki Carroll
Ricotta
1 gallon whole milk (not ultrapasteurized)
Salt to taste
3 tablespoons white vinegar
Place milk in a large, stainless-steel or enameled sauce pot over direct heat. Add salt to desired taste (start with 1 tablespoon). Heat milk to 185 degrees while stirring continuously; foam will begin to appear on top of the milk. Add vinegar, stir, and continue cooking and watch for curds to appear. Scoop curds into bowl or colander with a slotted spoon. For a drier cheese, line the colander with muslin or fine cheesecloth.
Makes 1 ½ to 2 pounds
Recipe courtesy of Kent Walker
Soft Goat Cheese
½ gallon pasteurized whole goat milk
1 ounce prepared fresh starter culture (available where cheese-making supplies are sold)
1 drop liquid rennet diluted in 5 tablespoons cool, unchlorinated water
1 teaspoon cheese salt, optional
In a medium stainless-steel or enameled pot, heat the milk to 76 degrees. Remove from heat. Add the starter, stirring to combine. Add 1 tablespoon of the diluted rennet and stir with an up-and-down motion for 1 minute. Cover and allow the milk to set at room temperature for 12 to 18 hours, or until it coagulates. The room temperature should not exceed 72 degrees. Scoop the curds into individual goat-cheese molds (approximately 3 ¼ inches in height). When the molds are full, put them in a convenient place to drain. Drain for 2 days. After 2 days of draining, the cheese will have sunk to about 1 inch in height and will maintain a firm shape. Unmold the cheese. If desired, lightly salt the surface to taste immediately after unmolding. Wrap in cheese wrap and store for up to 2 weeks in the refrigerator.
Makes about 1 pound.
Recipe adapted from Home Cheese Making by Ricki Carroll
Food on 01/14/2015